


Vue项目部署到服务器
前后端分离普及之后,把 Vue 项目部署到 Nginx、把 Node 服务跑在 CentOS 上,成了前端的基本功。本文按原文记录根路径、子路径、history 刷新 404,以及 forever 常驻进程,并保留全部截图和命令。
配置文件是 vue.config.js。它和 package.json 同级时会被 Vue CLI 自动加载。原文基于 Vue 3.0,Vue 2 的写法会略有不同。

一、部署到域名根路径
publicPath 是“部署应用包时的基本 URL”。默认假定挂在域名根上,例如 https://www.my-app.com/,这时可以不写 publicPath。
以“雨果学院后台管理中心”为例,步骤如下。
-
npm build打包应用(按项目脚本也可能是npm run build) -
把编译产物拷到 Nginx 的 html 目录 -
改 nginx.conf 的 root -
启动 Nginx
修改 Nginx 配置文件 nginx.conf:
启动后项目效果:
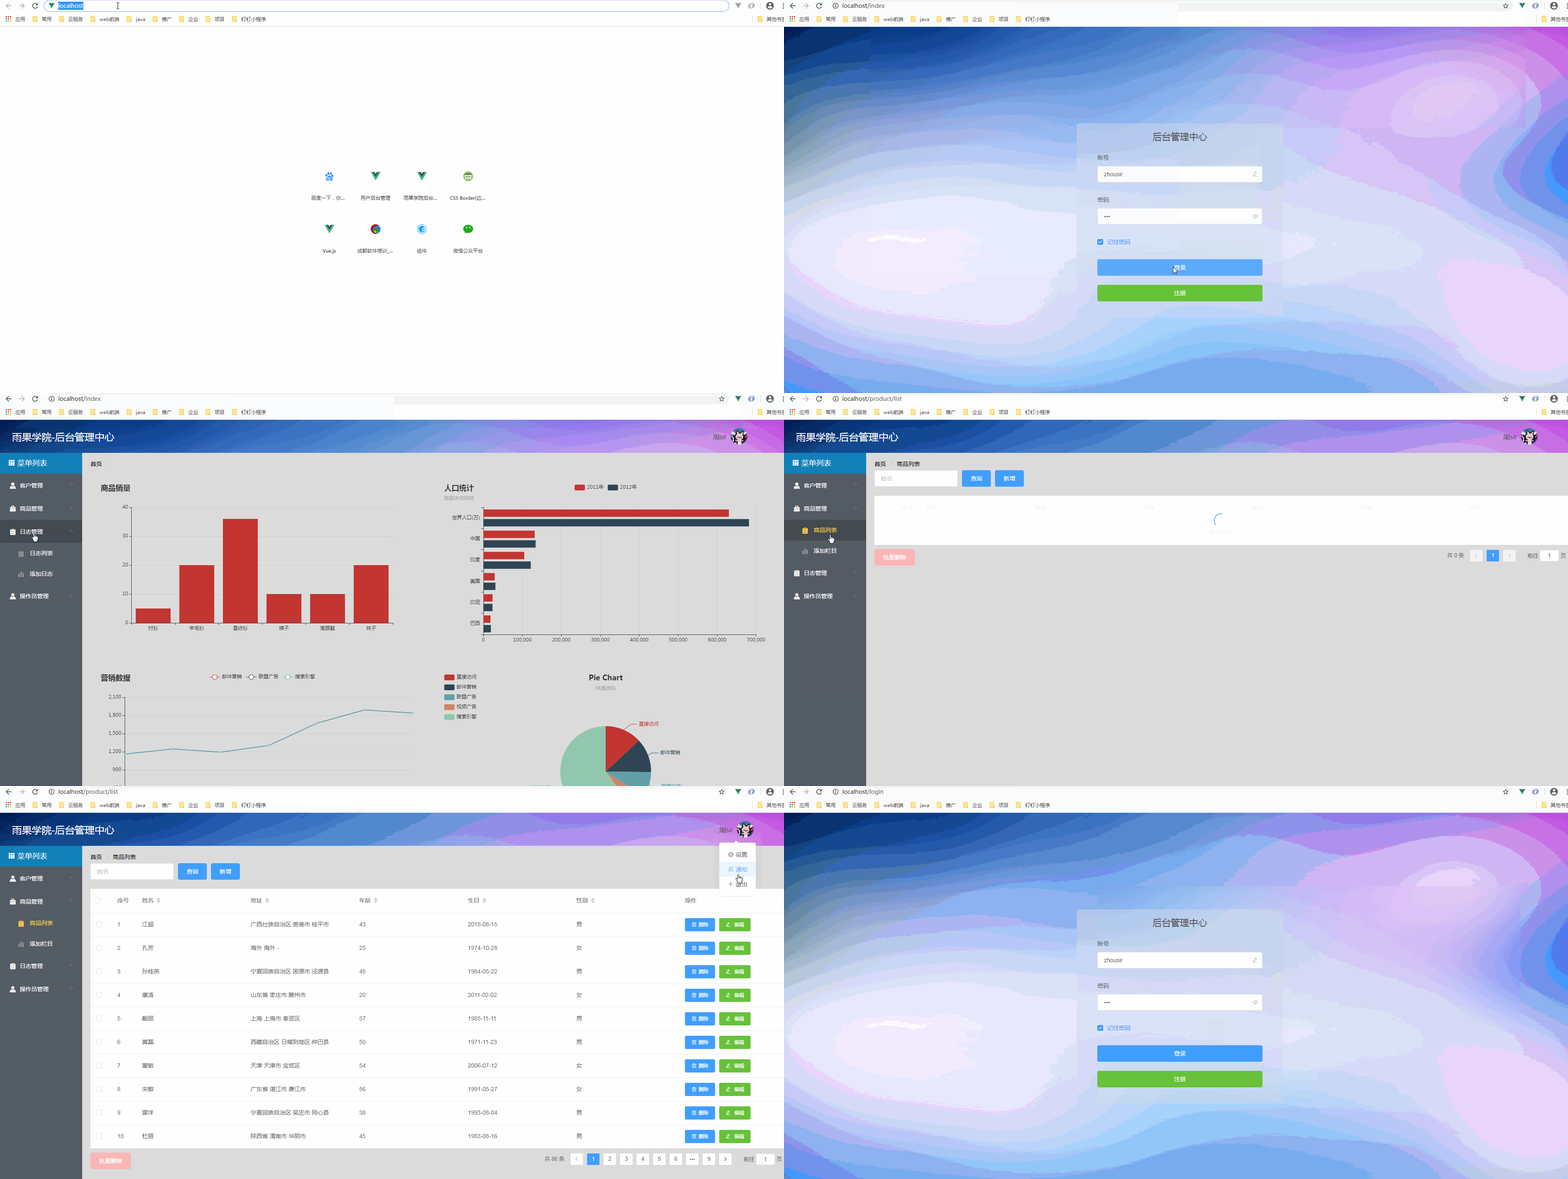
history 模式刷新 404
Vue 单页有 hash 和 history 两种路由。上线常用 history 更美观,但刷新时服务器会按真实路径找文件,找不到就 404。
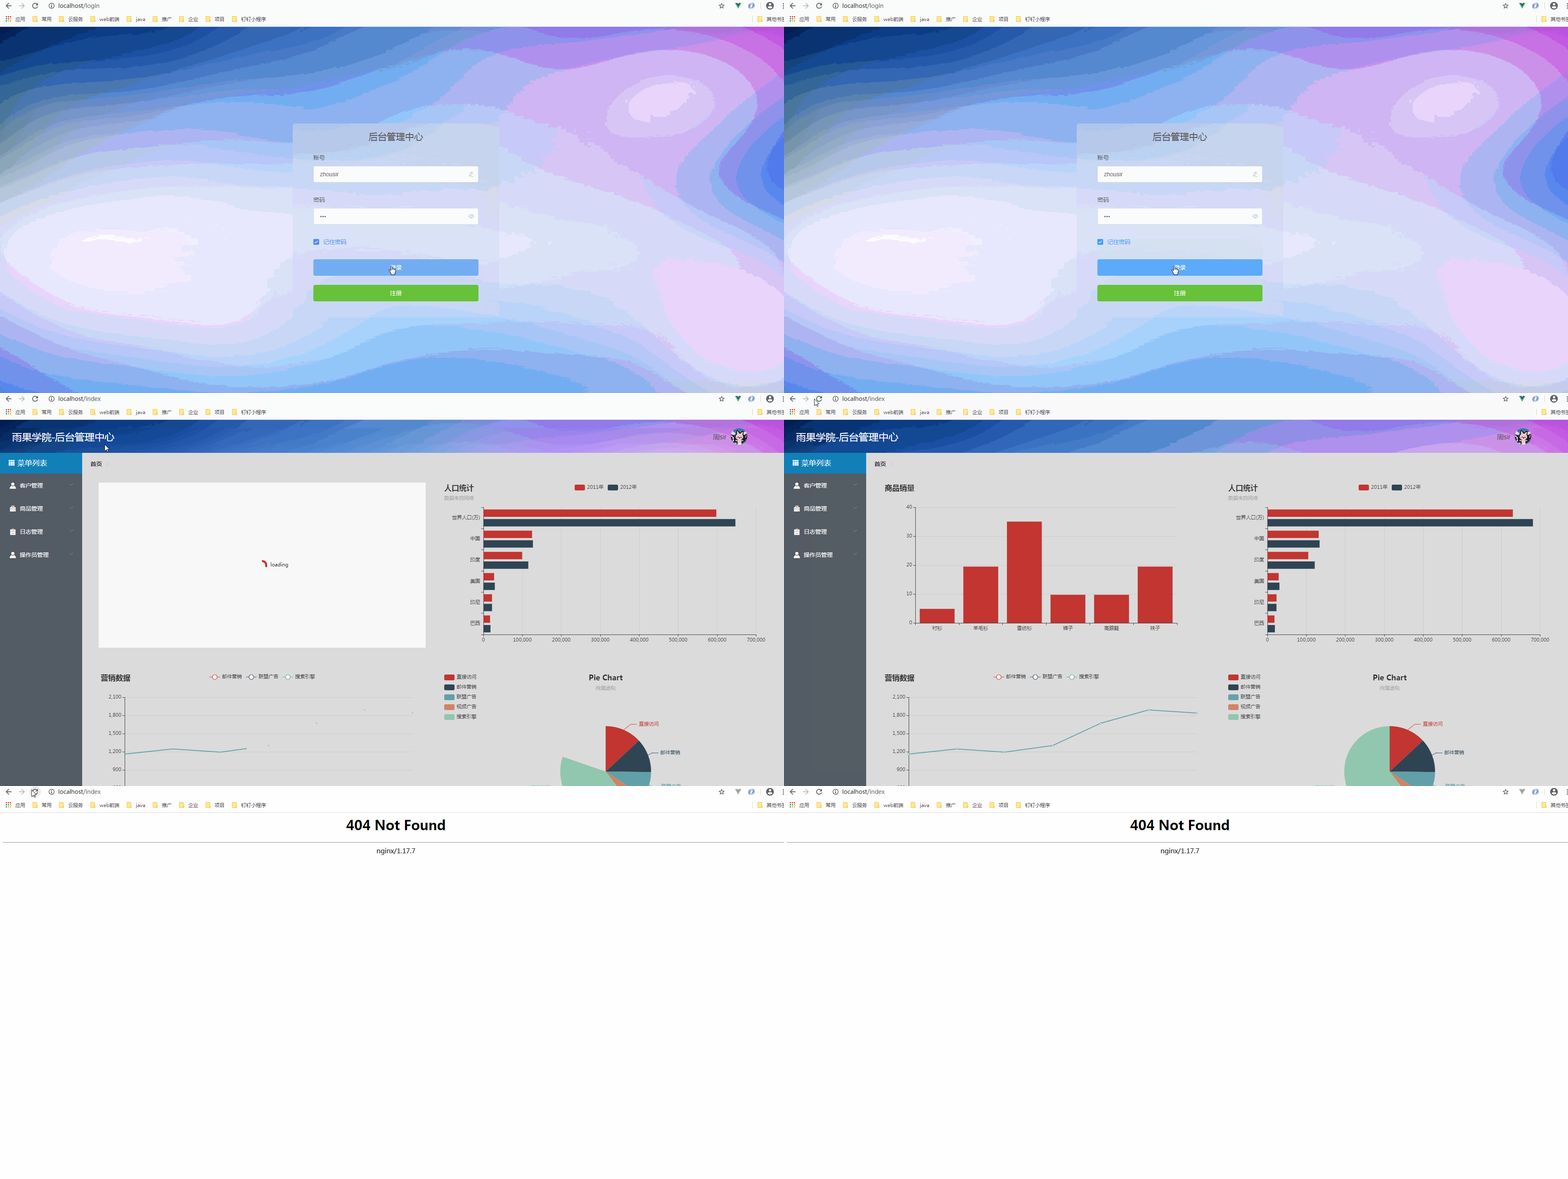
在 location 里加上 try_files $uri $uri/ /index.html;:
二、部署到子路径
若应用在 https://www.my-app.com/my-app/,要把 publicPath 设为 /my-app/。
1)vue.config.js
开发环境方便测试时,生产才加子路径,并把输出目录改成 my-app:
2)router 的 base
history 模式下还要改路由 base,默认可用 process.env.BASE_URL:
3)Nginx
三、CentOS 部署 Node.js 项目
下面按原文用 Node v6.9.5 二进制包 + forever 做后台常驻。
1)下载安装包
2)解压
3)软链接,任意目录可用 node / npm
4)查看版本
5)全局安装 forever
6)进入项目目录启动
7)查看运行中的项目
8)停止服务
参数是 forever list 里看到的 pid:
四、publicPath 相对路径的限制
网上不少教程写在 Vue 2 上,照抄时要小心。更完整的选项见官方 vue.config.js 文档。publicPath 也可以设成空字符串或 ./,资源会变成相对路径,包可以放到任意目录,也适合 Cordova 一类文件系统。
| 场景 | publicPath / base | Nginx 要点 |
|---|---|---|
| 域名根路径 | 默认 /,可不写 | root html/dist + try_files |
| 子路径 /my-app/ | publicPath: '/my-app/' |
location 与目录一致 |
| 相对路径 | '' 或 ./ |
不要搭配 HTML5 history |
| Node 常驻 | — | forever start / list / stop |
一句话总结:根路径几乎不用改 publicPath;子路径要同时改 publicPath 和 router.base;history 刷新 404 靠 Nginx try_files 回 index.html。
转载请注明来源:Vue项目部署到服务器

周sir
我是周sir,这是我的博客。致力于分享我学会的技术和优秀的文章。微信公众号 “周sir专栏” 欢迎大家关注。
你可能也喜欢
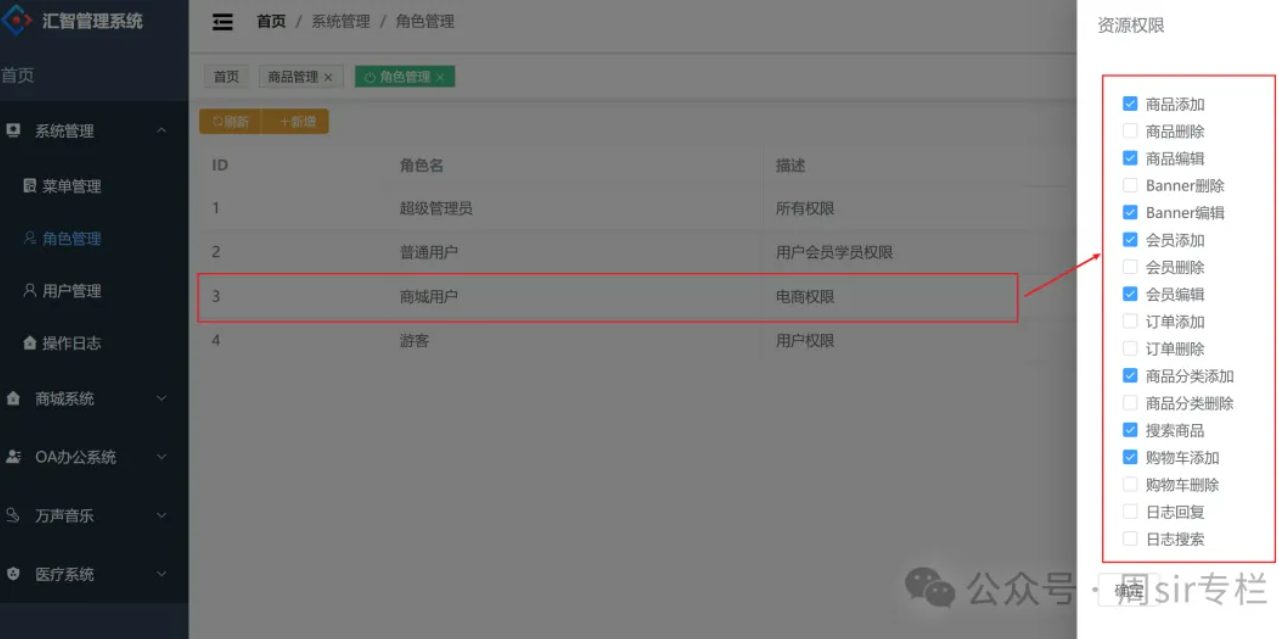
“如何控制按钮权限”,真实案例带你一步一步实现!让面试不再踩坑。

鼠标右键弹出菜单列表

hash路由和history路由原理
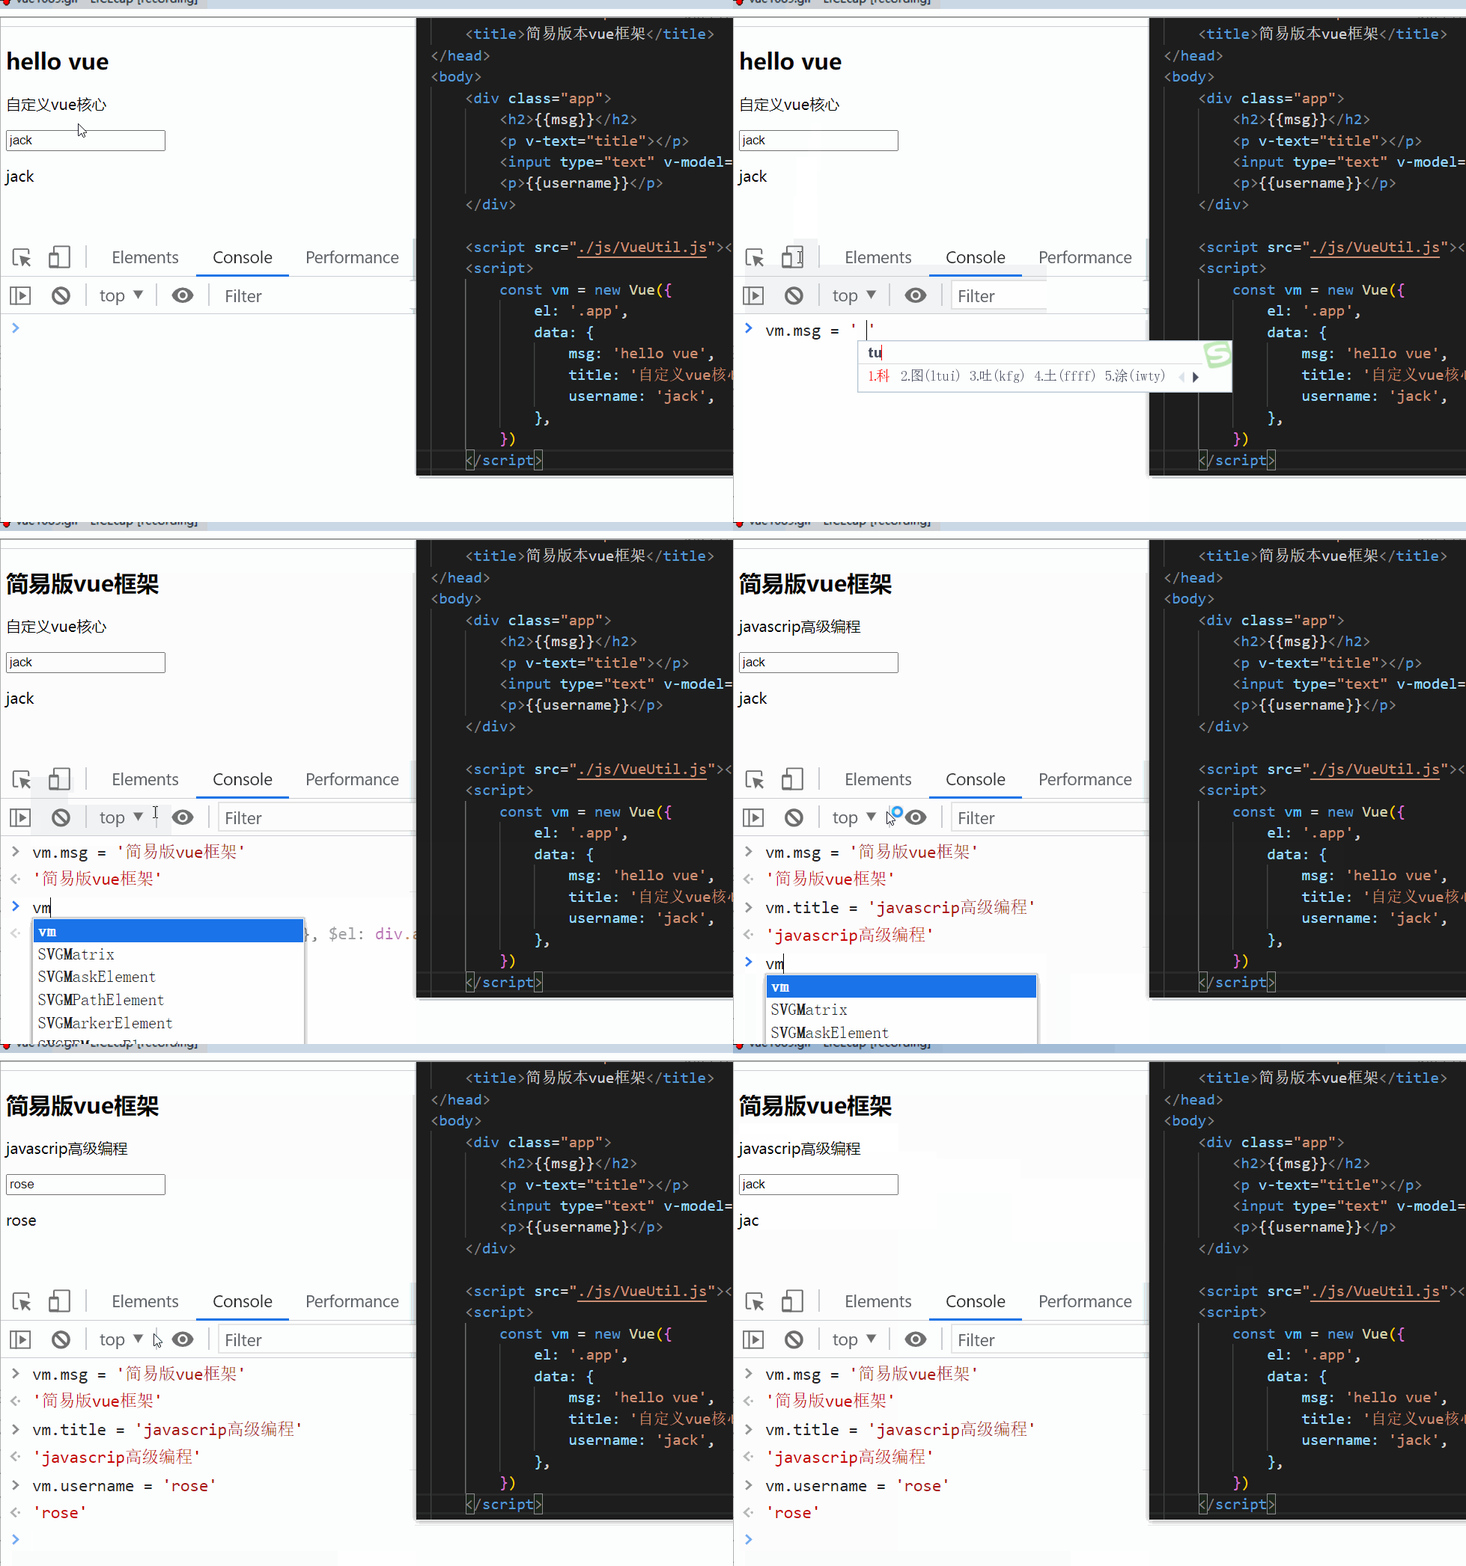
简易版vue框架