


前端动画必知必会:React 和 Vue 都在用的 FLIP 思想实战。
Vue 官网过渡动画里有一段很炫的效果。乍一看手写逻辑会很复杂,文档里出现了 FLIP。顺着这条线能在 Aerotwist 的 flip-your-animations 上找到思路,再一步步做出类似效果。图片素材引自知乎《有个漂亮女朋友是种怎样的体验?》,侵删。
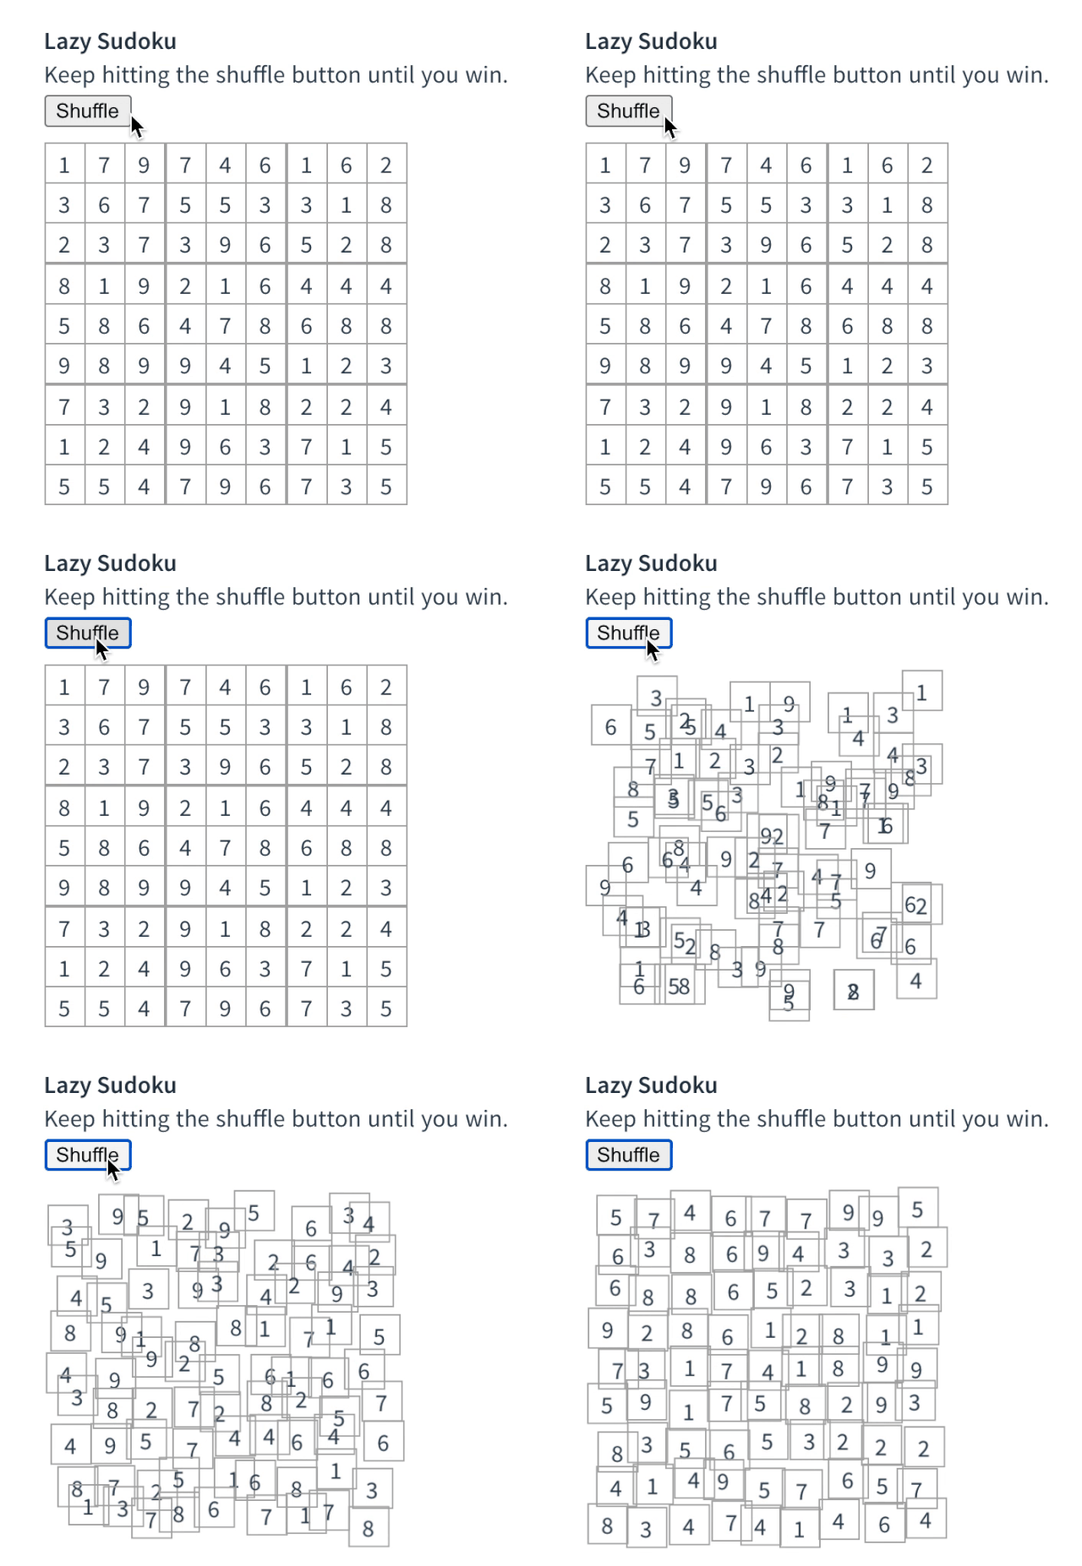
本文最终效果:

预览:http://sl1673495.gitee.io/flip-animation
| 字母 | 含义 | 在本文里 |
|---|---|---|
| First | 动画前的初始状态(位置、透明度等) | getBoundingClientRect 记下旧图 left/top |
| Last | 动画后的最终状态 | 改数据后 DOM 已变、浏览器尚未绘制 |
| Invert | 先把元素“倒”回动画前的视觉位置 | translate 回偏移量 |
| Play | 再播到真正的新位置 | Web Animation API 的 animate |
一、FLIP 四步
First
即将做动画的元素的初始状态(位置、透明度等)。
Last
即将做动画的元素的最终状态。
Invert
假设图片初始 左: 0, 上:0,最终 左:100, 上100,等于向右下走了 100px。不要先算终点再命令它从 0,0 走到 100,100,而是先让元素自己移动过去(Vue 里用数据驱动,数组前面追加几张图,旧图就被挤下去)。
关键点:DOM 属性变化(left、right、transform 等)会被攒到下一帧统一渲染。于是存在一个时间点:DOM 状态已经变了,浏览器还没画。可以先让 Vue 改 DOM,此时已能读到变更后的位置。
一行两张图,初始 [img1, img2],头部追加后变成 [img3, img4, img1, img2],img1/img2 被挤到下一行。img1 从 0,0 到 100,100,浏览器还没画,先 img1.style.transform = translate(-100px, -100px),把它 Invert 回位移前。
Play
倒置后再让它回到 0, 0 即可。本文用 Web Animation API 做最后的 Play(MDN:Web Animation)。
二、实现
图片用 column-count: 4 排成 4 列:
关键是往 imgs 追加元素后,做流畅的路径动画。先实现 add:
随机取几张图,new Image 预加载防止空白,再算旧图位置:
记下旧位置后追加:
Vue 异步渲染,改 imgs 不会立刻动 DOM,要用 nextTick:回调进 microTask。microTask 一定发生在浏览器重绘前。
先执行 this.imgs = newData.concat(this.imgs),触发依赖更新,Vue 把本次 DOM 更新推进 microTask,队列是 [changeDOM]。再 nextTick(callback),变成 [changeDOM, callback]。所以 nextTick 里一定能拿到最新 DOM。
保存过 prevImgs,nextTick 里再 getRects 就是旧图片的新位置:
有了新旧位置就可以 Invert 再 Play:
完整实现:
三、源码与适用面
https://github.com/sl1673495/flip-animation
FLIP 不只做位移,透明度、宽高一样能做。电商里点商品图,从图原来的位置放大成整页,就是这类思路。
只要知道动画前、动画后的状态,就能流畅过渡,而且此时 DOM 是干净的——不是硬编码强迫它从 0,0 走到 100,100。
一句话总结:FLIP 是先让 DOM 走到终点,再在绘制前用 transform 倒回去,最后用动画“假装”走过去,React 和 Vue 的列表过渡都是这套。
转载请注明来源:前端动画必知必会:React 和 Vue 都在用的 FLIP 思想实战。

周sir
我是周sir,这是我的博客。致力于分享我学会的技术和优秀的文章。微信公众号 “周sir专栏” 欢迎大家关注。
你可能也喜欢
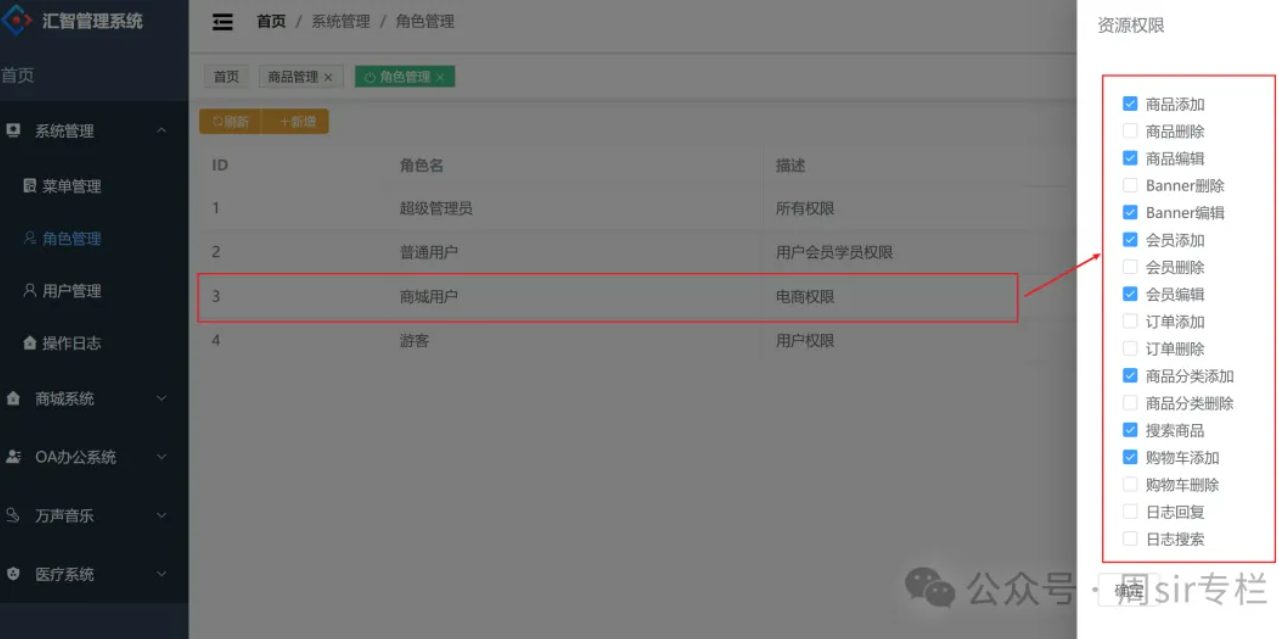
“如何控制按钮权限”,真实案例带你一步一步实现!让面试不再踩坑。
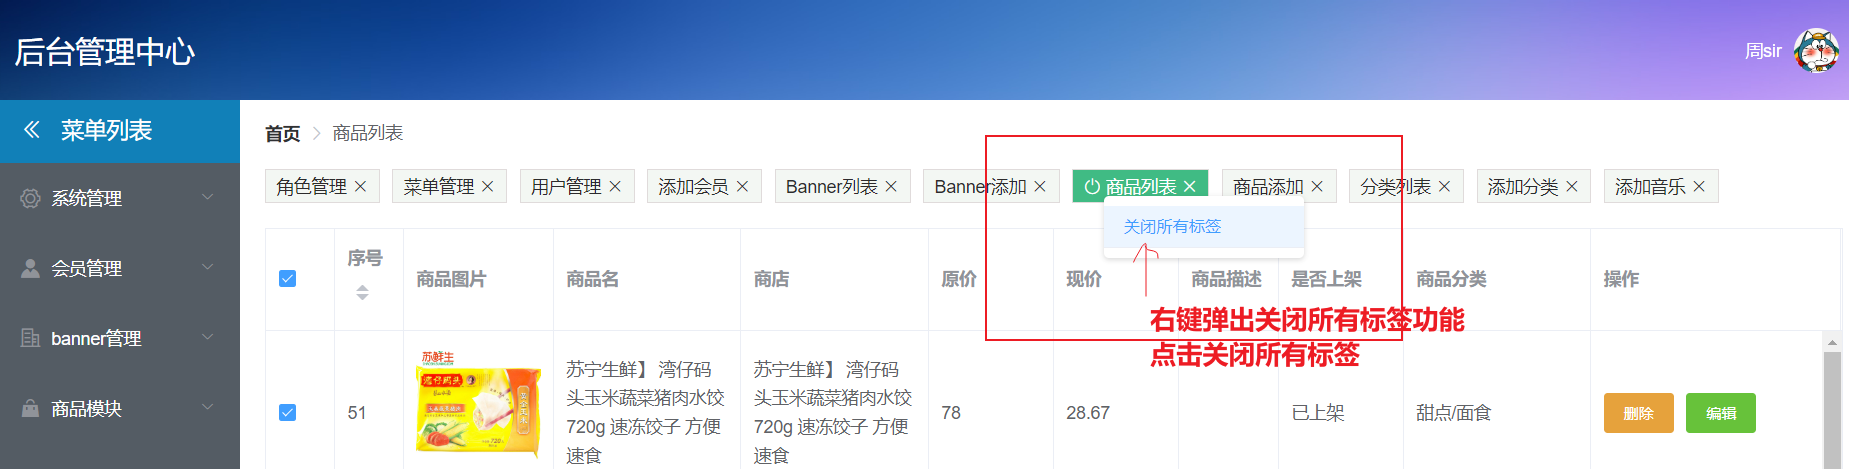
鼠标右键弹出菜单列表
hash路由和history路由原理
简易版vue框架