


说说你对双向绑定的理解?
单向绑定很简单:把 Model 绑到 View,JS 改数据,界面自动更新。双向绑定再走一步:用户改了 View(比如填表),Model 也跟着变。Vue 把这套封装在 MVVM 的 ViewModel 里。
本文从关系图讲到 Vue2 时代的 Observer / Compile / Watcher / Dep,并给出一份可运行的精简实现,方便面试时把链路说完整。
| 角色 | 职责 | 对应代码 |
|---|---|---|
| Model | 数据和业务 | options.data |
| View | UI / 模板 | el 上的 DOM |
| Observer | 劫持属性 | defineReactive |
| Compiler | 解析指令和插值 | Compile |
| Watcher + Dep | 依赖收集与通知 | Dep.target / notify |
一、什么是双向绑定
先看单向:Model 变,View 变。
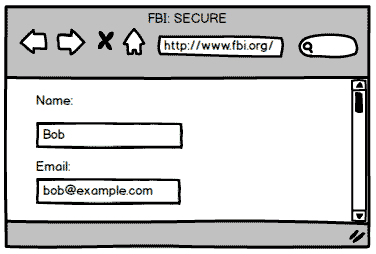
用户填表时 View 状态更新;若能自动写回 Model,就是双向绑定。
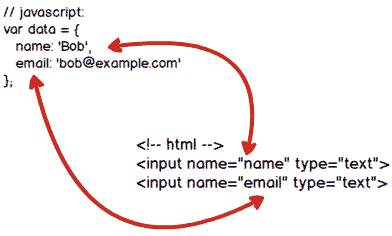
二、双向绑定的原理
Vue 双向绑定由三层构成,合称 MVVM。控制层的核心就是数据双向绑定:
-
数据层(Model):应用的数据及业务逻辑 -
视图层(View):展示效果,各类 UI 组件 -
业务逻辑层(ViewModel):把数据和视图关联起来
理解 ViewModel
两件主责:数据变化后更新视图;视图变化后更新数据。内部两块:
-
监听器(Observer):对所有数据属性监听 -
解析器(Compiler):扫描指令,按模板替换数据,绑定更新函数
三、实现双向绑定
以 Vue 为例,流程是:
-
new Vue()初始化,对 data 做响应化,发生在 Observe 中 -
同时编译模板,找到动态绑定,从 data 取值初始化视图,发生在 Compile 中 -
定义更新函数和 Watcher,数据变了由 Watcher 调更新函数 -
同一个 key 可能出现多次,所以每个 key 需要一个管家 Dep 管理多个 Watcher -
data 变化先找对应 Dep,通知所有 Watcher 执行更新
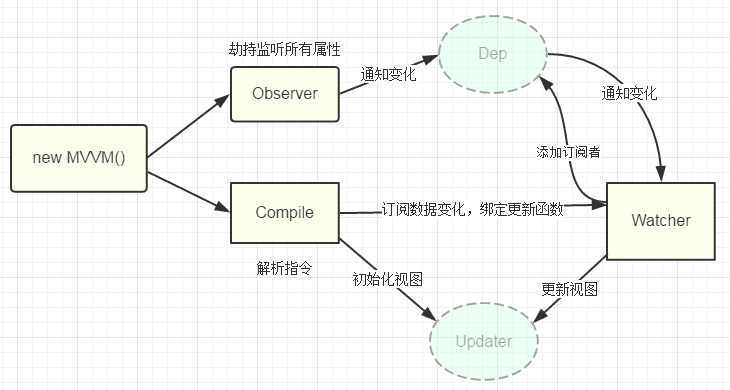
响应化 data
构造函数:执行初始化,对 data 响应化、代理到 vm,再编译。
对 data 做响应化:
编译 Compile
扫描每个元素节点的指令,按模板替换数据,绑定更新函数。
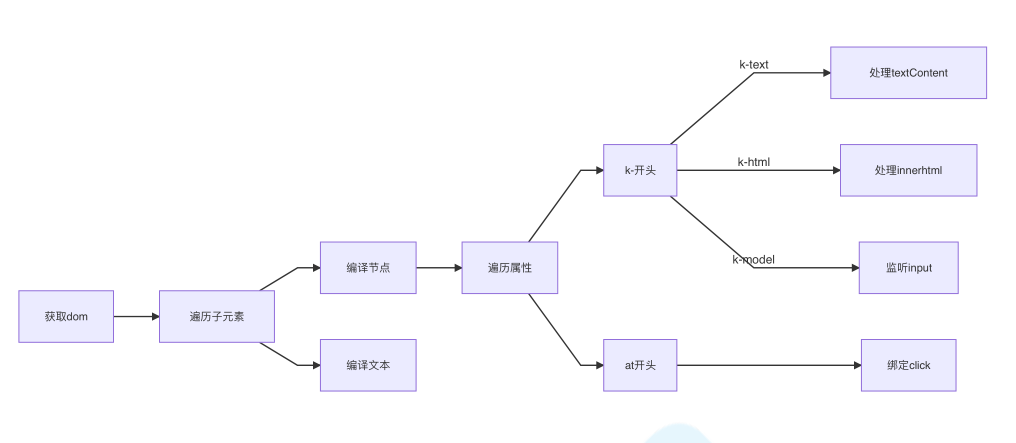
依赖收集
视图用到 data 里某个 key 就叫依赖。同一 key 可能出现多次,每次用一个 Watcher 维护,多个 Watcher 交给 Dep,更新时统一通知。
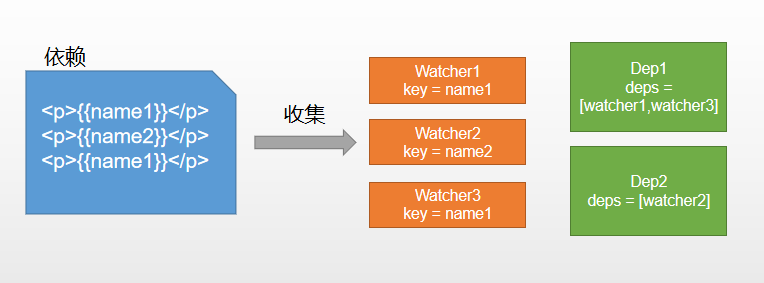
-
defineReactive时为每一个 key 创建一个 Dep 实例 -
初始化视图时读取某个 key(例如 name1),创建一个 watcher1 -
触发 name1 的 getter,把 watcher1 加到 name1 对应的 Dep -
name1 更新时 setter 触发,通过 Dep 通知所有 Watcher
声明 Dep:
创建 watcher 时触发 getter(精简写法):
依赖收集,创建 Dep 实例:
四、参考文献
-
https://www.liaoxuefeng.com/wiki/1022910821149312/1109527162256416 -
https://juejin.cn/post/6844903942254510087#heading-9 -
原文: https://github.com/febobo/web-interview/issues/2
一句话总结:双向绑定 = Observer 劫持 data + Compile 解析模板 + Watcher 订阅 + Dep 通知;读属性收集依赖,写属性触发更新。
转载请注明来源:说说你对双向绑定的理解?

周sir
我是周sir,这是我的博客。致力于分享我学会的技术和优秀的文章。微信公众号 “周sir专栏” 欢迎大家关注。
你可能也喜欢
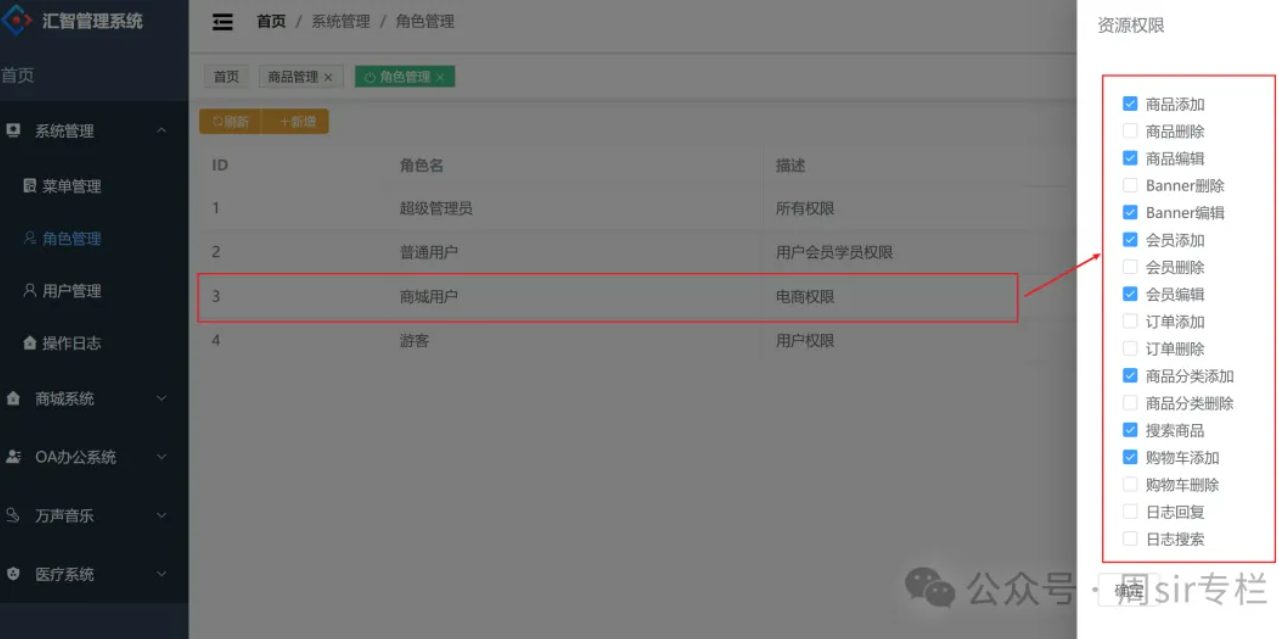
“如何控制按钮权限”,真实案例带你一步一步实现!让面试不再踩坑。
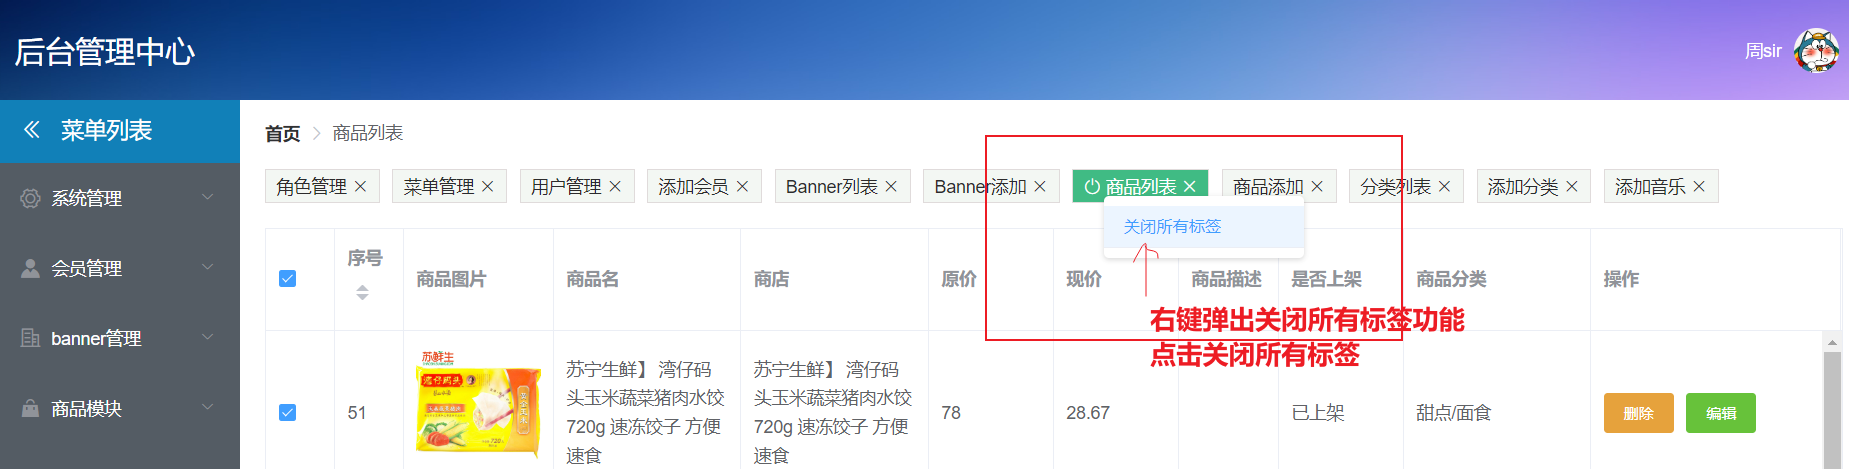
鼠标右键弹出菜单列表
hash路由和history路由原理
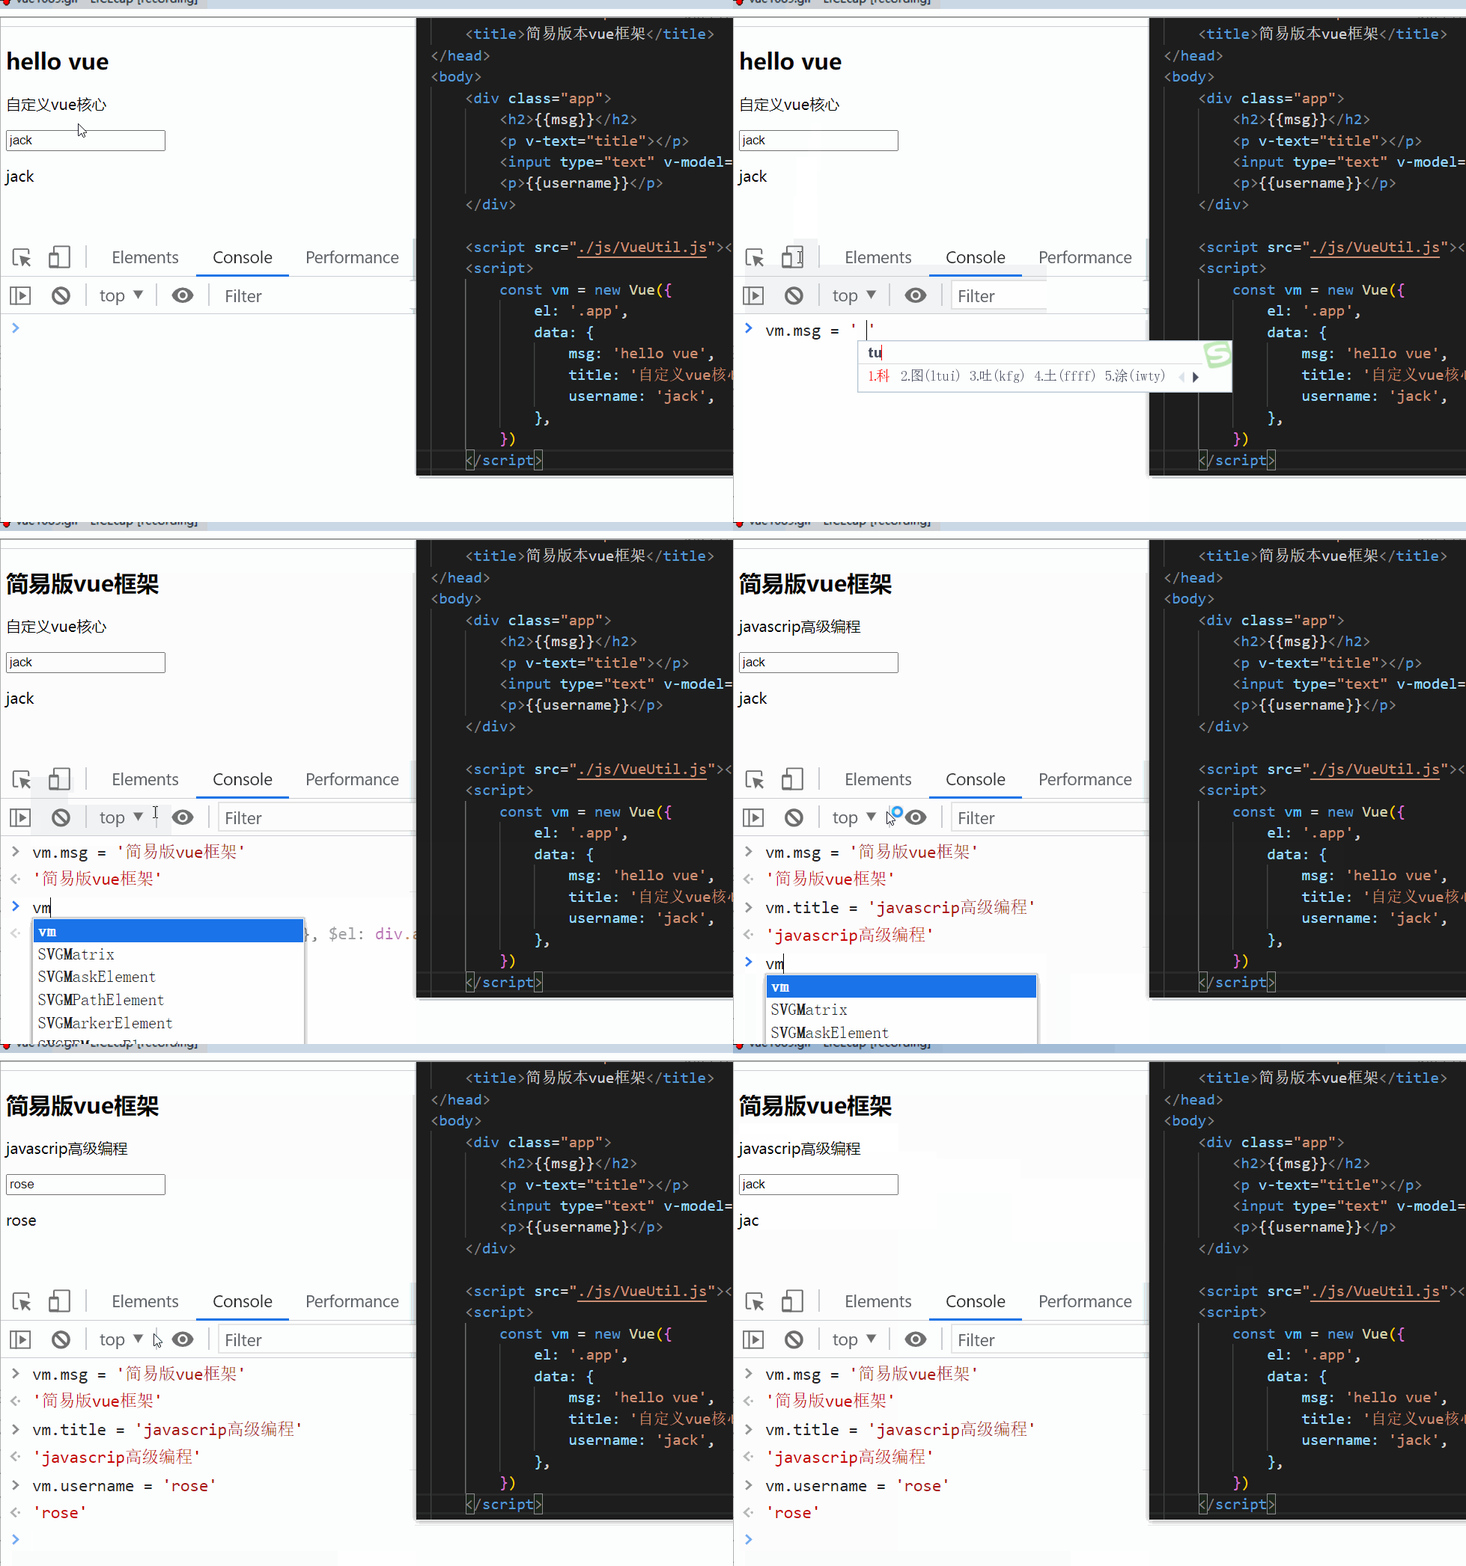
简易版vue框架