Retrofit 是 Square 做的 Android / Java REST 客户端。写法简单,GET、POST、PUT、DELETE 等都用注解声明,比很多网络库更容易上手。
一、简介与三件套
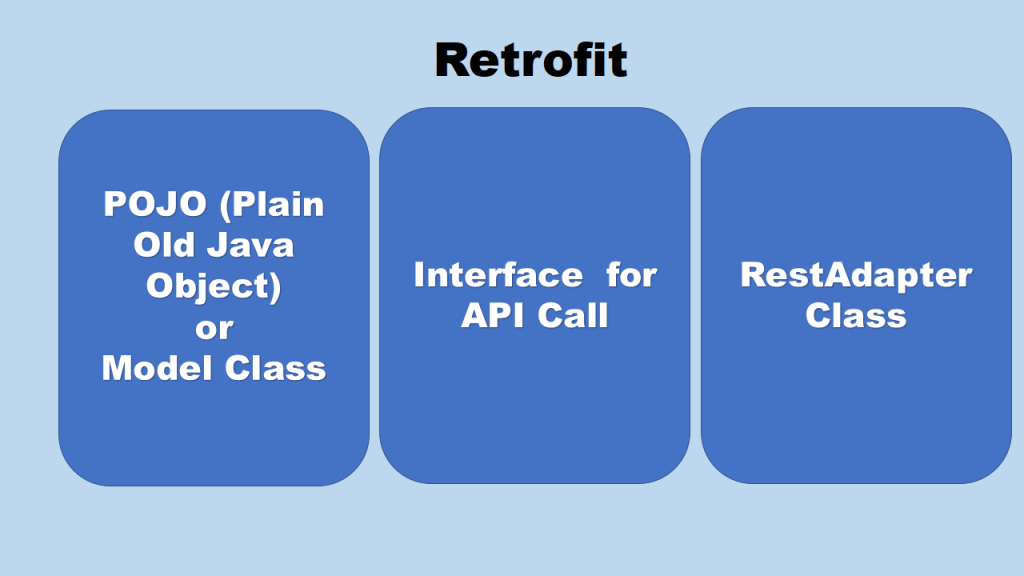
一次请求通常拆成三块:
1. POJO / 模型
服务器 JSON 填进这类实例:
public class StudentBean {
    private String name;
    private int age;
}
2. 接口(服务类)
用接口管理 URL:
public interface RetrofitCall {
    @GET("/student")
    Call<StudentBean> getStudent();
}
3. RestAdapter / Retrofit 客户端
默认用 Gson 解析 JSON,也可以换成 Jackson 等。一般这样调:
            Retrofit retrofit = new Retrofit.Builder()
                    .addConverterFactory(GsonConverterFactory.create())
                    .baseUrl("http://www.bm.com/")
                    .build();

            RetrofitCall call = retrofit.create(RetrofitCall.class);
            Call<StudentBean> mCall = call.getStudent();
            mCall.enqueue(new Callback<StudentBean>() {
                @Override
                public void onResponse(Call<StudentBean> call, Response<StudentBean> response) {

                }

                @Override
                public void onFailure(Call<StudentBean> call, Throwable t) {

                }
        });
添加 Retrofit 库
Gradle :

compile 'com.squareup.retrofit2:retrofit:2.1.0'
compile 'com.squareup.retrofit2:converter-gson:2.1.0'
当时 2.1.0 是最新版,更新版本见 这里。
二、基本的 HTTP 请求
用注解区分请求类型。@GET("") 表示 GET,括号里是地址。
| 注解 |
含义 |
@GET |
GET 请求 |
@POST |
POST 请求 |
@PUT |
PUT 请求 |
@DELETE |
DELETE 请求 |
@HEAD |
HEAD 请求 |
@OPTIONS |
OPTIONS 请求 |
@PATCH |
PATCH 请求 |
对应接口写法:
1.GET请求

GET("/record")
Call<PhoneResult> getResult();
2.POST请求

@POST("/record")
Call<PhoneResult> getResult();
3.PUT请求

@PUT("/record")
Call<PhoneResult> getResult();
4.DELETE请求

@DELETE("/record")
Call<PhoneResult> getResult();
三、服务器接口类型
常见三类:
直接请求型
直接对某一地址或组合地址发起请求。例如对 /result 和 /result/{id} 发 GET,{id} 在调用时填实际值。
带参查询型
对某一地址带查询参数。例如 https://www.baidu.com/s?wd=123 是对 https://www.baidu.com/s 做 wd=123 的 GET。
带 Header 型
请求时要求带上 Header。
四、Retrofit 里怎么写
直接请求型
1. 直接请求某一地址:
@GET("/record")
Call<PhoneResult> getResult();
2. 组合后请求,如 /result/{id}:
@GET("/result/{id}")
Call<PhoneResult> getResult(@Path("id") String id);
带参查询型
如 12306 查询接口 https://kyfw.12306.cn/otn/lcxxcx/query?purpose_codes=ADULT&queryDate=2016-03-18&from_station=BJP&to_station=CDW:
@GET("/otn/lcxxcx/query")
Call<Result> query(@Query("purpose_codes") String codes, @Query("queryDate") String date,
    @Query("from_station") String from, @Query("to_station") String to)
带 Header 型
更新账户信息,地址 /info,Header 有设备 device、系统版本 version,参数还有账户 id:
@POST("/info")
Call<Object> updateInfo(@Header("device") String device, @Header("version") int version,
                        @Field("id") String id);
五、实例:多说接口
基础 URL
多说接口基础地址为 http://api.duoshuo.com,构建 Retrofit:
Retrofit retrofit = new Retrofit.Builder()
        .addConverterFactory(GsonConverterFactory.create())
        .baseUrl("http://api.duoshuo.com")
        .build();
获取文章评论、转发数
-
-
-
示例:
http://api.duoshuo.com/threads/counts.json?short_name=official&threads=4ff1cbc43ae636b72a00001d
-
后面的
.json 表示返回格式,这里用 json。
@GET("/threads/counts.json")
Call<Object> getCommit(@Query("short_name") String shortName,
                       @Query("threads") String threads);
匿名发表新评论
Request URL:http://api.duoshuo.com/posts/create.json
Request Method:POST
Post Data:short_name=official&author_email=jp.chenyang%40gmail.com&author_name=Perchouli&thread_id=1152923703638301959&author_url=http%3A%2F%2Fduoshuo.com&message=匿名发表新评论
1. Field 方式:
@FormUrlEncoded
@POST("/posts/create.json")
Call<CommitResult> createCommit(@Field("secret") String secret,
                                @Field("short_name") String shortName,
                                @Field("author_email") String authorEmail,
                                @Field("author_name") String authorName,
                                @Field("thread_key") String threadKey,
                                @Field("author_url") String author_url,
                                @Field("message") String message);
2. FieldMap 方式:
@FormUrlEncoded
@POST("/posts/create.json")
Call<CommitResult> createCommit(@FieldMap Map<String, String> map);
组装 Map:
public class CommitParam {

    private String short_name;
    private String author_email;
    private String author_name;
    private String thread_id;
    private String author_url;
    private String message;

    public String getShort_name() {
        return short_name;
    }

    public void setShort_name(String short_name) {
        this.short_name = short_name;
    }

    public String getAuthor_email() {
        return author_email;
    }

    public void setAuthor_email(String author_email) {
        this.author_email = author_email;
    }

    public String getAuthor_name() {
        return author_name;
    }

    public void setAuthor_name(String author_name) {
        this.author_name = author_name;
    }

    public String getThread_id() {
        return thread_id;
    }

    public void setThread_id(String thread_id) {
        this.thread_id = thread_id;
    }

    public String getAuthor_url() {
        return author_url;
    }

    public void setAuthor_url(String author_url) {
        this.author_url = author_url;
    }

    public String getMessage() {
        return message;
    }

    public void setMessage(String message) {
        this.message = message;
    }

    public Map<String, String> createCommitParams(){
        Map<String, String> params = new HashMap<>();
        params.put("short_name", short_name);
        params.put("author_email", author_email);
        params.put("author_name", author_name);
        params.put("thread_id", thread_id);
        params.put("author_url", author_url);
        params.put("message", message);
        return params;
    }
}
项目地址:Dev-Wiki/RetrofitDemo。更多文章:DevWiki Blog。参考:http://www.jcodecraeer.com/a/anzhuokaifa/androidkaifa/2015/0418/2748.html
一句话总结:Retrofit 用接口 + 注解描述 URL,Builder 配 baseUrl 和 Gson;路径用 @Path,查询用 @Query,表单用 @Field / @FieldMap,头用 @Header。